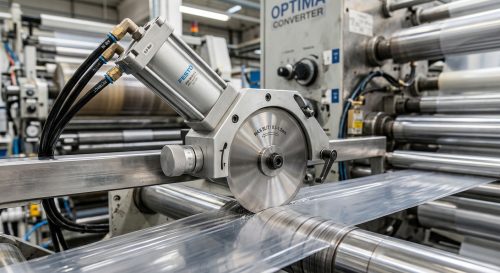

Top Slitter Knives vs Bottom Slitter Knives: Functions and Pairing

Top slitter knives cut downward from above the web and are paired with a bottom anvil or knife that must always be harder, since the bottom component absorbs the shearing load and controls burr formation. Which setup you need depends on your substrate and finish requirements: shear slitting (top + bottom knife) suits thin films and foils where a clean edge matters, while razor/score slitting (top knife + anvil) suits paper, nonwovens, and thicker webs where tool life and simplicity matter more than edge perfection. Get the pairing wrong and you don’t just get a bad cut, you get a burr problem that re-sharpening alone will never fix.
Key takeaways
- The bottom slitter knife or anvil must always be harder than the top knife, that hardness differential is what prevents burr on the top face of the cut.
- Shear slitting (matched top and bottom knives) suits thin films and foils; razor/score slitting (top knife plus anvil) suits paper, nonwoven, and thicker webs.
- Mismatched wear between a fresh and a worn knife in the same pair reintroduces burr even if one knife is brand new, always replace top and bottom as a matched set.
- Chronic burr that survives repeated re-sharpening usually means the configuration itself, shear vs. razor, is wrong for the substrate, not that the blade is dull.
What a Top Slitter Knife Actually Does
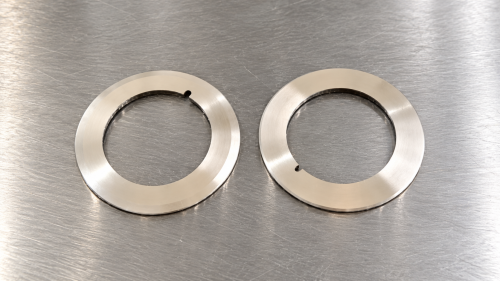
The top knife is the active component. It’s mounted above the web, and it’s usually the part doing the penetrating. Whether it’s working in a shear setup or riding against an anvil, the top knife is the one introducing the force that starts the cut.
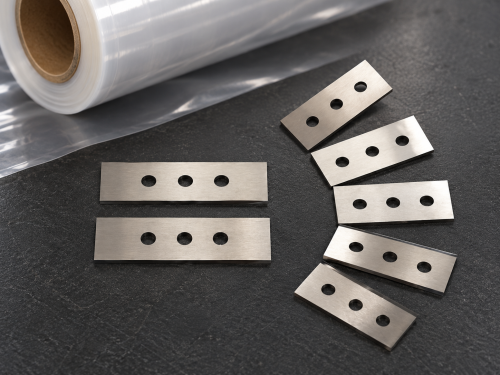
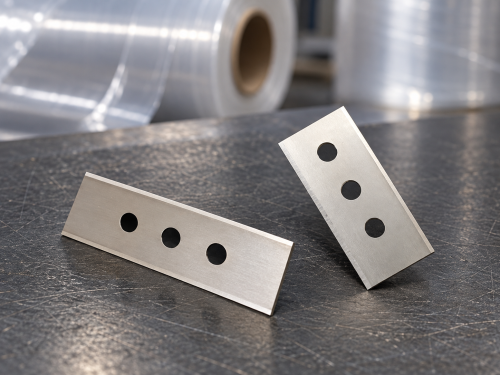
In a shear slitting arrangement, the top knife rotates and overlaps with a bottom knife underneath it, creating true scissor action, the same principle as household scissors blades passing each other. In razor or score slitting, there’s no bottom knife at all, just a smooth or grooved anvil receiving the pressure. The top knife is the only sharp edge in that pairing, pressing the web down onto the anvil surface rather than cutting through a second blade edge.
Edge angle matters more than people assume
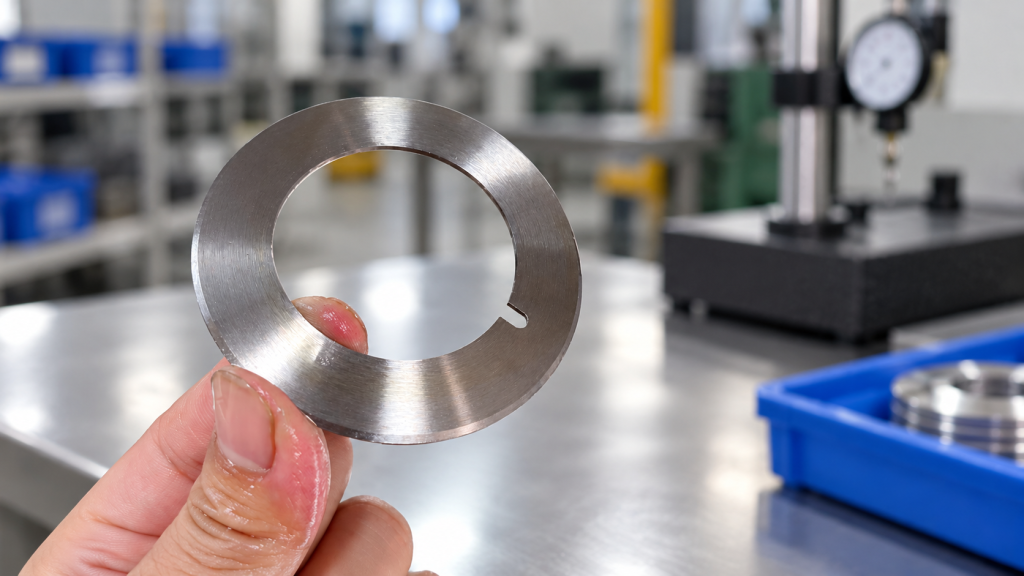
Top knives are typically ground to a slightly different edge angle than their bottom counterpart. That asymmetry isn’t accidental: it controls which direction the cut wants to travel and how cleanly the two edges meet during overlap. Vacuum heat treatment, through hardening, triple tempering, and cryogenic treatment are common processing steps for top slitters, each one aimed at keeping that edge geometry stable through repeated regrinding rather than letting it drift after a few sharpening cycles.
What a Bottom Slitter Knife Does Differently
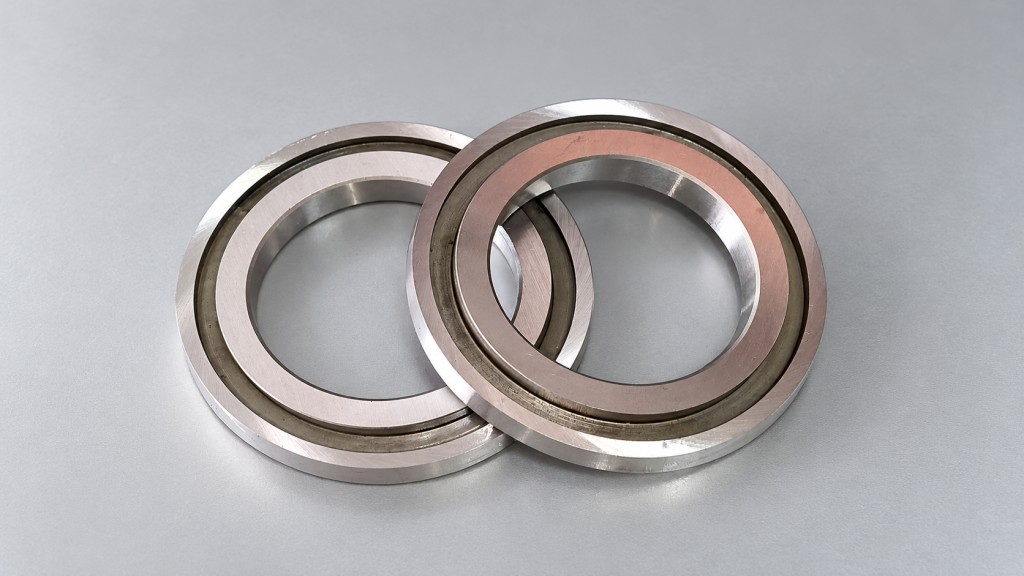
Calling the bottom knife a mirror of the top one is the most common misunderstanding buyers bring to a reorder. It isn’t. The bottom knife, or the anvil it replaces, either cuts from underneath the web or simply receives the top knife’s force, and in both roles it’s engineered to be harder.
Bottom slitter knives are harder than their top slitter counterparts. That isn’t a minor spec detail. It’s what prevents burr forming on the top face of the cut during high-speed operation. The hardness of the bottom blade must always exceed that of the top knife. That strength differential is what keeps the cutting edge clean instead of dragging a ragged lip along with it.
Why the bottom component wears the way it does
Because the bottom knife or anvil takes the brunt of repeated contact, cycle after cycle, it needs a steel grade chosen for wear resistance, not just raw hardness. Hardness without the right wear resistance just means a knife that chips early instead of wearing gradually. This is also where partial or score cuts come in: when the underside finish matters more than the top, or when you need to score one layer of a laminate without fully severing it, the bottom component is doing work the top knife structurally can’t replicate.
Top vs Bottom Slitter Knives: Side-by-Side Comparison
Put side by side, the differences stop being abstract. The comparison most spec sheets never bother to assemble looks like this:
| Factor | Top Slitter Knife | Bottom Slitter Knife / Anvil |
|---|---|---|
| Cutting mechanism | Drives the shear, initial penetration | Receives the cut or acts as anvil |
| Hardness | Lower by design | Always higher, prevents top-face burr |
| Best substrate fit | Films, foils (shear mode) | Paper, nonwoven, thicker webs (razor mode) |
| Line speed tolerance | High, with correct overlap | Sets the practical speed ceiling |
| Wear pattern | Wears slower, follows bottom | Wears first, dictates replacement interval |
| Typical configuration | Film converting, foil lamination | Paper reels, nonwoven rolls |
| Speed relationship | Baseline speed | Runs 3-5% faster for true shear cut |
That last row surprises a lot of maintenance teams. To achieve a true shear cut, the bottom knife actually has to operate 3-5% faster than the top knife. That speed offset is deliberate. It’s what maintains continuous contact pressure at the nip point instead of letting the two edges momentarily separate and reopen the fibers of the web.
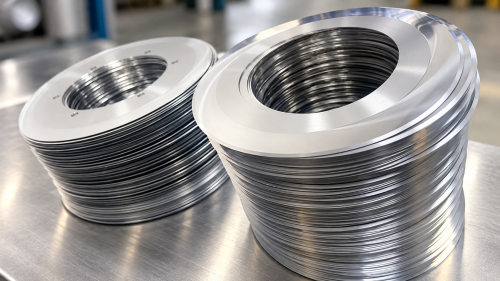
Also worth noting: top and bottom knives are often the same blade specification on paper, but on plenty of machines they differ in OD or edge treatment even though the base steel grade is identical. If you’re sourcing circular slitting blades, it’s worth reading up on how to choose the right material for your substrate before assuming a single spec covers both positions.
Top & Bottom Knife Matching: Why Size Isn’t Enough
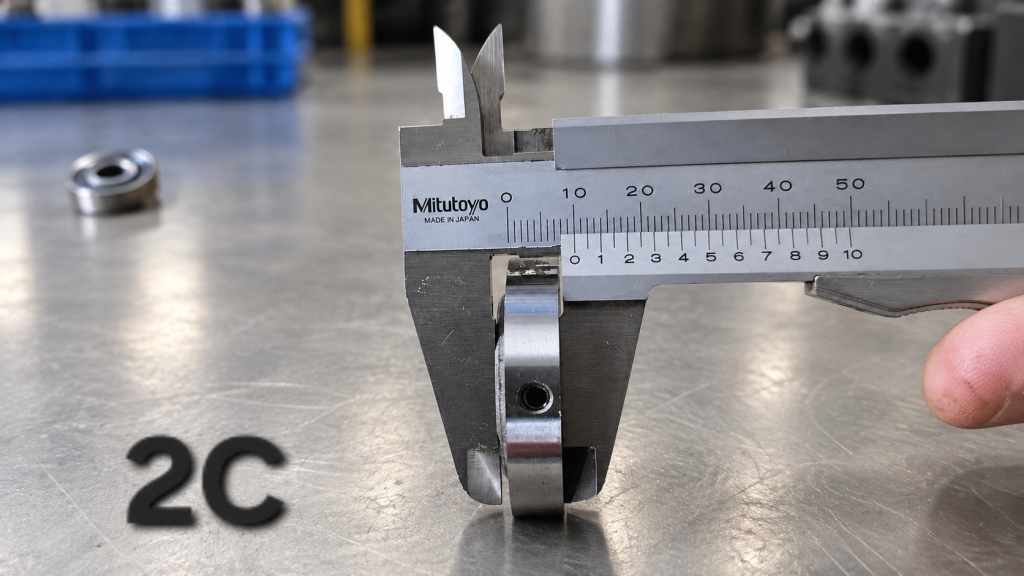
Replacing paper slitter knives looks simple until the cut quality drops for no obvious reason. The usual culprit is the overlap between the two knives, not the knives themselves. Too little overlap and the web tears instead of cutting cleanly; too much overlap and you accelerate wear on both knives simultaneously.
Holder condition and shaft runout matter just as much as the blades. A fresh, correctly ground knife sitting in a worn holder will still produce an inconsistent cut, because the geometry the machine was originally tuned for has shifted.
The mismatched-pair trap
A lot of plants lose money on a mistake that’s easy to miss: swapping in a fresh top knife while leaving a worn bottom knife in place, or vice versa. That throws off the hardness differential the whole system depends on, and burr comes right back, even though one of the two knives is brand new. Mismatched wear causes rapid degradation of the new knife too, since it’s now absorbing stress the pairing wasn’t designed to distribute that way.
Replacing top and bottom as a matched set, sourced to the same spec and installed together, preserves the geometry the machine was tuned for in the first place. If you’re troubleshooting ongoing edge defects rather than just doing a routine swap, it’s worth reviewing why your slitting line produces burrs before you reorder.
How Heat Treatment and Grinding Tolerances Change the Outcome
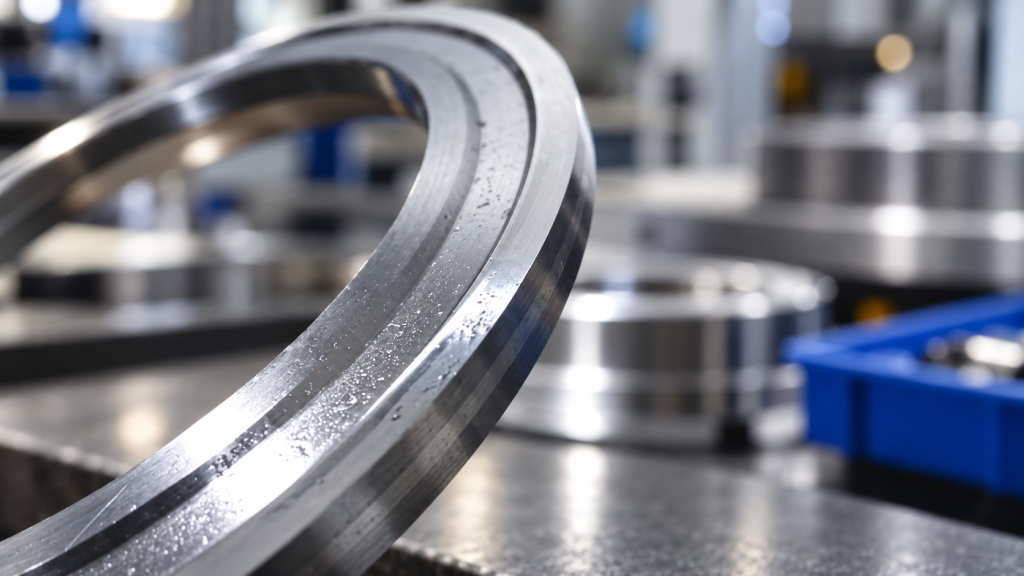
Two knives can share the exact same steel grade on the data sheet and still behave completely differently on the machine. The difference is almost always in processing, not the raw material.
Through hardening combined with cryogenic treatment stabilizes hardness across the entire cross-section of the blade, which matters enormously for knives that get reground multiple times over their service life. A knife hardened only at the surface loses that hardness advantage the moment it’s reground past the hardened layer. Triple tempering reduces residual internal stress that would otherwise show up as chipping, particularly on a bottom knife that’s already running at a higher hardness than its top counterpart.
Grinding tolerance is the quiet variable
CNC grinding tolerance on the edge angle determines how consistently the top and bottom knives overlap across the full width of the shaft, not just at one point. A bottom knife ground even slightly out of tolerance will show a burr long before the top knife does, simply because it’s the harder, load-bearing half of the pair and any geometry error gets amplified there first. This is the kind of detail that separates a drop-in replacement that performs identically to the original from one that technically fits but never quite cuts the same.
Fixing Burr and Edge-Quality Problems by Choosing the Right Setup
Chronic burr or fuzzy edges usually trace back to one of three causes, and they’re not interchangeable fixes.
- Burr on the top face of the cut: almost always points to an insufficient hardness differential between the top and bottom knife. Check whether the bottom knife has been reground down into a softer layer, or whether a mismatched pair snuck into the holder.
- Fine dust or fibrous edges on nonwovens: often means razor/anvil slitting is being pushed past the substrate it’s actually suited for. Heavier nonwovens sometimes need the cleaner mechanical shear of a matched top-and-bottom knife pair instead.
- A complaint that re-sharpening never fixes: if you keep re-grinding and the edge quality problem keeps coming back, the configuration itself may be wrong for the material, not just dull. Switching from razor slitting to shear slitting, or the reverse, can resolve a chronic issue that’s been misdiagnosed as a sharpening problem for months.
- Speed-related edge quality drop: check whether the top and bottom knives are running at the speed differential shear slitting requires (see the comparison table above). Properly set knives running at that offset hold a clean edge at speeds where a mismatched pair would already be tearing.
For web handling systems running paper, nonwoven, or printed substrates, it’s worth reviewing the blade categories under printing, paper and nonwoven web handling systems to confirm you’re even starting from the right blade family.
Specifying Custom Top or Bottom Knives for Your Machine
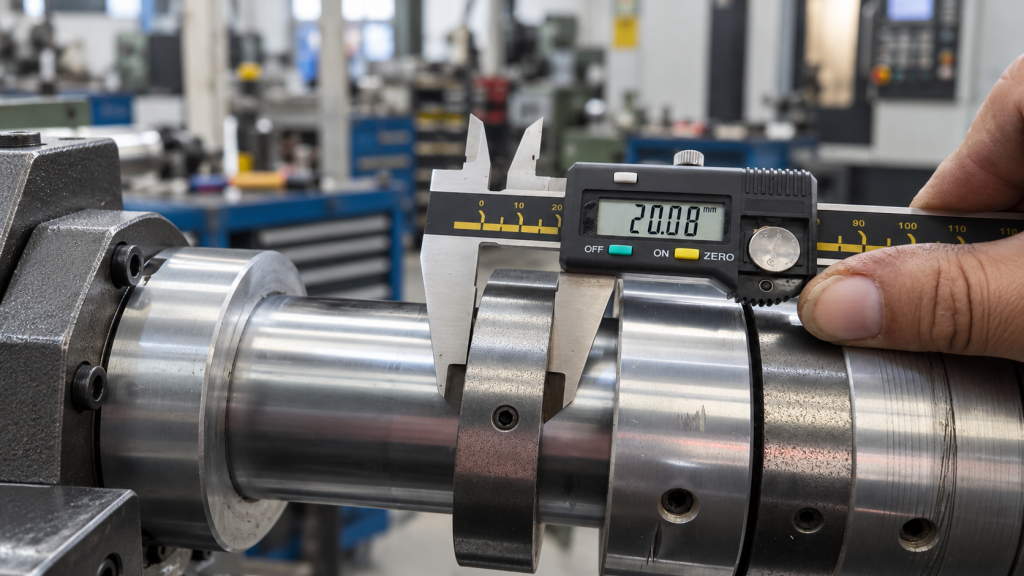
Imagine a buyer who’s been running the same slitter line for years and suddenly switches to a thinner gauge film. What used to be a stable setup starts throwing burr complaints within weeks. The knives didn’t degrade overnight. The specification just stopped matching the application.
Before requesting a quote on custom top or bottom knives, gather this information:
- Substrate type and thickness. This determines whether shear or razor slitting is even the right starting point. Thin films and foils generally favor shear, paper and nonwovens generally favor razor plus anvil.
- Line speed. Higher speeds raise the required hardness differential between top and bottom, and may make cryogenic treatment worth specifying rather than optional.
- Machine brand and existing holder dimensions. OD, bore, and thickness need to match exactly for a drop-in replacement. Guessing here is how mismatched pairs end up installed in the first place.
- Full cut vs. partial score. A partial score changes the blade profile itself, not just the hardness spec, so this needs to be flagged upfront, not discovered during installation.
For OEMs building new equipment, the same logic applies whether you’re spec’ing blades for coil slitting and sheet shearing lines or for film and web converting, the mechanism of pairing hardness to geometry doesn’t change with industry.
Getting the Pair Right: Next Steps
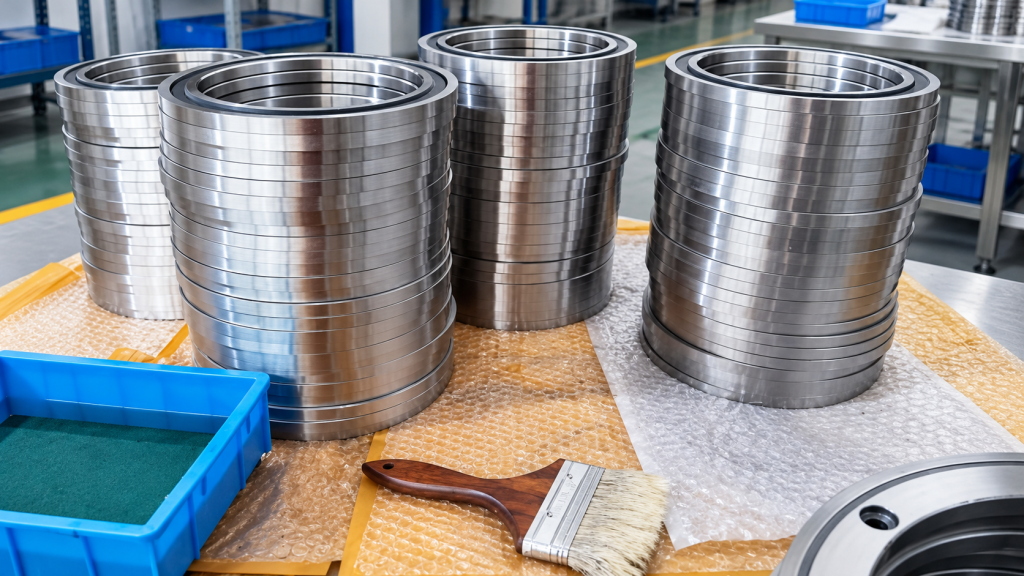
The decision rule is simple even if the execution isn’t: match the hardness differential and the geometry, not just the steel grade. A top and bottom knife that look identical on a spec sheet can still produce burr if one of them was reground out of tolerance or paired with the wrong partner.
Treat top and bottom knives as a system, not two separate purchase line items. Ordering them together, from the same source, to the same tolerance, removes most of the guesswork that causes repeat burr complaints.
For non-standard substrates or unusual machine configurations, a trial order on a small batch is worth the extra step before committing to volume. It’s a lot cheaper to validate fit on a handful of knives than to discover a mismatch after a full production run is already loaded.
If you’re specifying a replacement set or working through a new machine configuration, reach out to the yishimachinery team to discuss your specs before you commit to a production order.
Frequently asked questions
Can you use the same knife for top and bottom slitting positions?
Not reliably. Even when top and bottom knives share the same steel grade, the bottom position needs higher hardness to prevent burr, and in some machines the OD or edge treatment also differs between positions. Using an identical knife in both spots risks an insufficient hardness differential and inconsistent cut quality.
How do I know if I need shear slitting or razor slitting?
Base the choice on substrate and finish needs. Thin films and foils generally need shear slitting (matched top and bottom knives) for a clean, burr-free edge. Paper, nonwoven, and thicker webs often do fine with razor/anvil slitting, which is simpler and easier to maintain, though it wears faster at high speed.
Why does my new slitter knife still produce burr after replacement?
This almost always points to a mismatched pair: a fresh knife installed opposite a worn one throws off the hardness differential the system depends on. Check whether both top and bottom knives were replaced together, and verify holder condition and overlap, not just the blade’s sharpness.